Digital photography is great – no more need for expensive film, no more guessing whether your photos turned out well or not. The best bit is that you can take as many photos as you want, any time you want. All you need is your smartphone or, if photography is your hobby or job, your DSLR camera plus enough space on your SD card. Then you can have all the fun in the world taking photos.
However, there’s one downside – you end up with so many similar photos dumped in your Pictures or Unsorted folder that it can take days to sort through them, delete low-quality shots or the shots you don’t need, and keep only the best photos. And then you’ll need even more time if you want to organize your photos by subject. While both Windows and Macs have pretty good gallery apps (Mac Photos is particularly good), they don’t have the features to delete duplicate and similar photos. So, let’s have a look at what you can do to find photos of the same subject and organize your albums quickly and easily.
Delete Low-Quality Shots Immediately
The best way to minimize the number of low-quality photos (I’m talking about blurred, dark, overexposed photos as well as photos with a tilted horizon line) is to review your shots right when you take them and delete the bad ones. If you can’t do that immediately, at least try to sort through your newly taken photos after the photoshoot, before you upload them to your computer. That way there will be fewer similar shots to sort through later.
Another good way to minimize similars is to have a solid folder structure. That will help you to categorize your photos and know exactly what’s where. After all, it’s extremely confusing to have a folder with 1,000+ images where the file names are IMG001 and so on!
Use an App to Manage Similar Photos
Even if you have a pretty organized photo library, you can organize it even further by finding photos of the same subject. That way you’ll be able to review all shots taken at a particular location or of a particular subject in an intuitive visual way. The best way to do that is to use an app like Duplicate Photo Cleaner, which has a special Same Subject scan mode. Let’s see how DPC can locate images sharing the same subject:
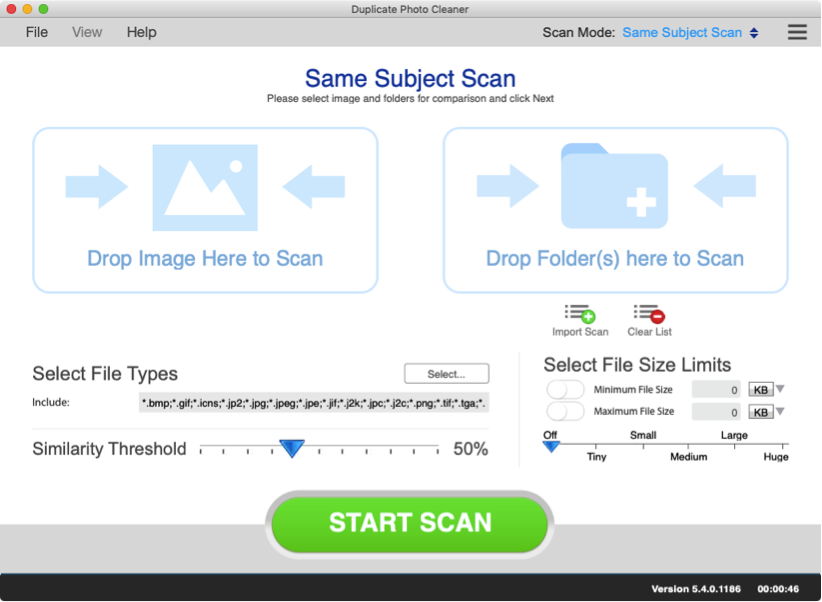
Open Duplicate Photo Cleaner and select Same Subject Scan from the scan modes drop-down menu:

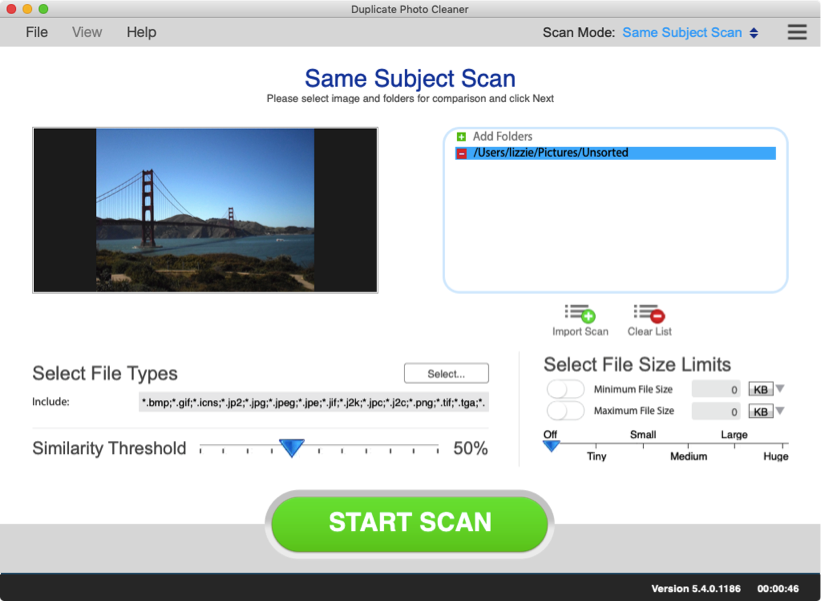
Add the source photo to the left include window. That’s the photo against which you want to compare your other images:

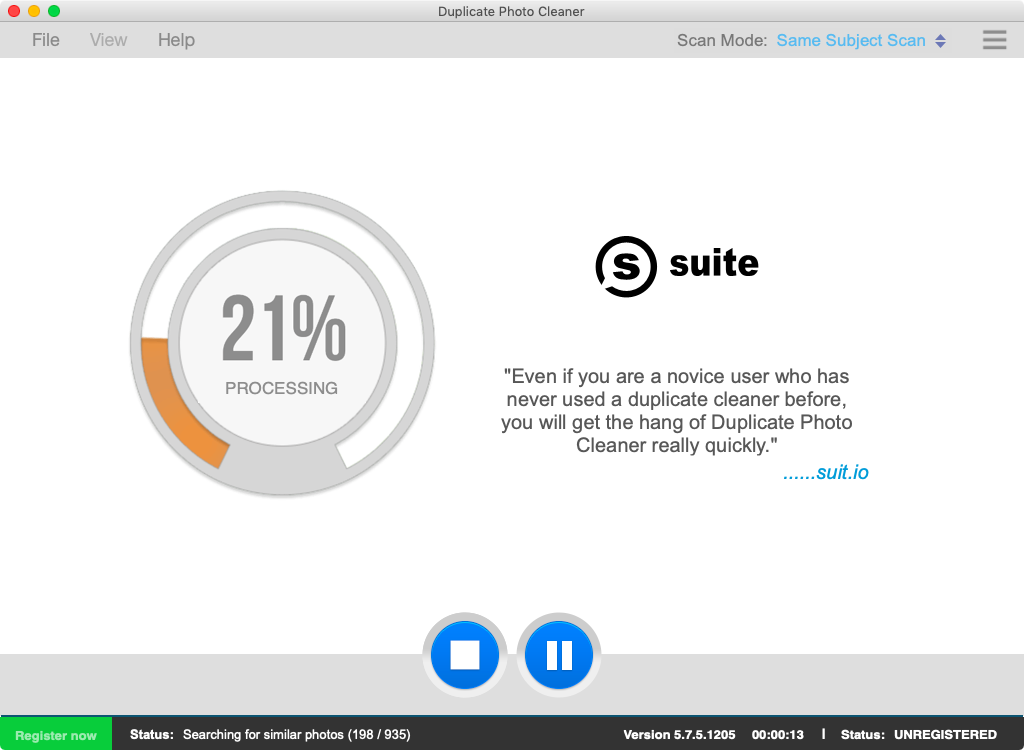
Add the folders where you want to look for similar images to the right include window, then click on the Start Scan button and wait for the scan to finish. You can pause and resume the scan at your convenience.

When the scan is done, you’ll get a summary and two options: to save the scan for later use (so that you can load it without wasting time to scan again) or to examine the results and delete the photos you don’t need. Click on the Go Fix Them button to proceed to the results.

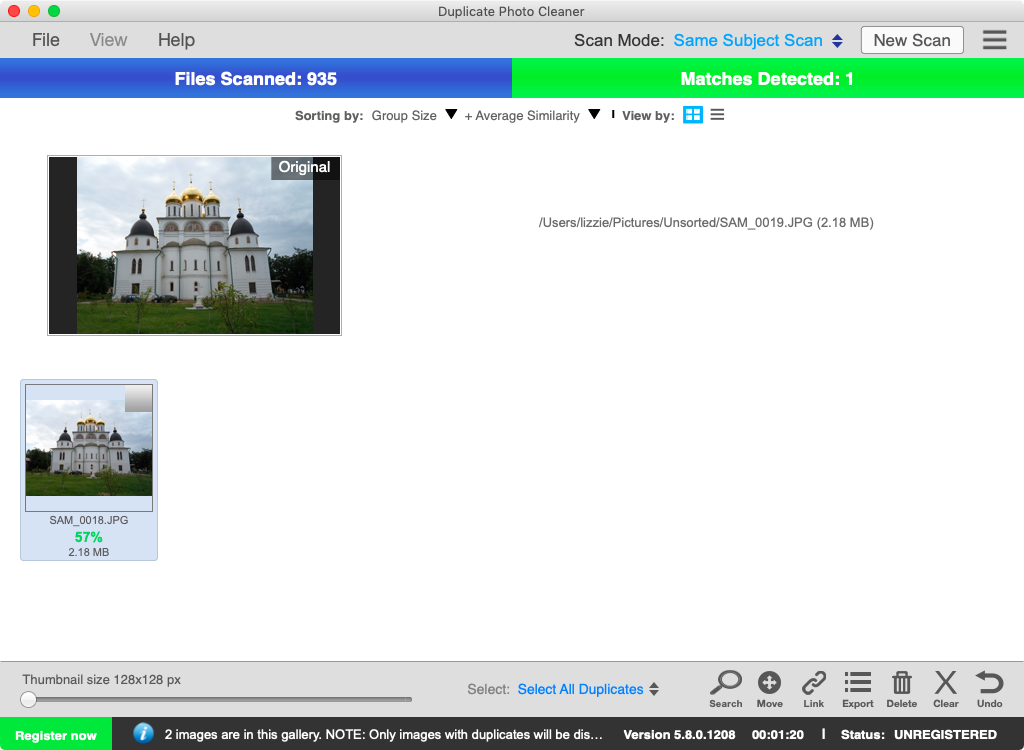
On the results screen, you’ll see all the matches to the source photos and be able to select and remove the similars in one click.
Now, I didn’t have many similar photos on my computer (that’s why I only got one result) but I hope you got the idea of how to use this super-handy Duplicate Photo Cleaner scan mode!

